Create a Facebook App

Creating a basic Facebook app for your website sounds much more intimidating than it actually is. Just follow these 4 simple steps and you should have your Facebook App ID in less than 5 minutes.
Table of contents
Step 1: Registration
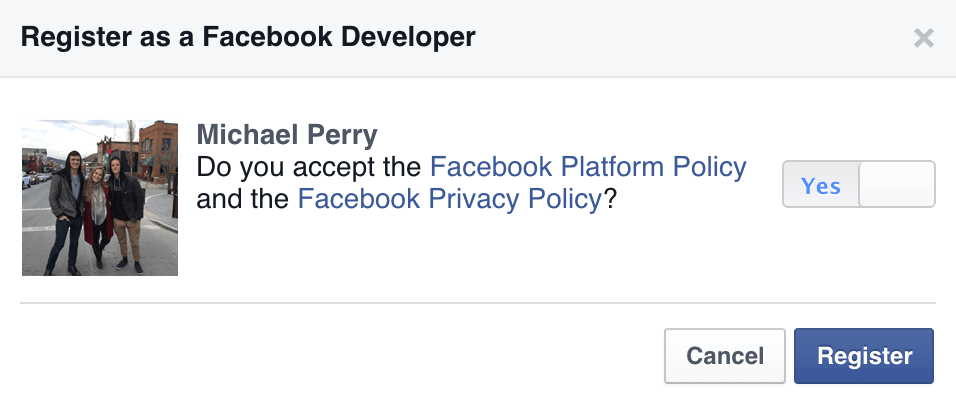
Start by logging in or signing up for a new Facebook account. Once you're signed it, go to https://developers.facebook.com. At the top of the page is a blue button that says Register. Click Register and in the popup, toggle the switch that says you agree to their privacy policy. Now click Register.
Step 2: Create your app ID
You'll then be asked if you'd like to create your app ID. Select Create App ID and you'll be asked to give your app a Display Name and a Category.
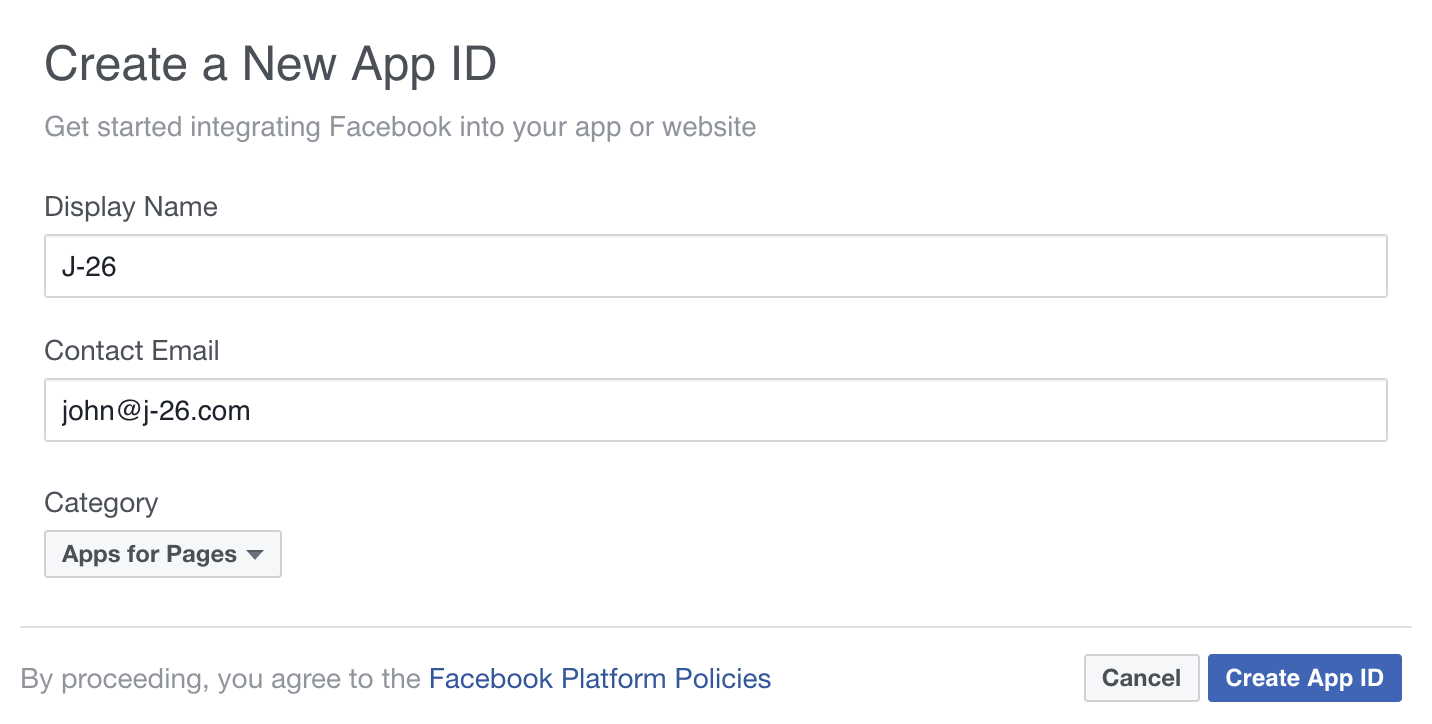
Once again, click Create App ID. The next screen you'll come to will display your app ID in the top nav bar. Just 2 more steps left.

Step 3: Select your platform
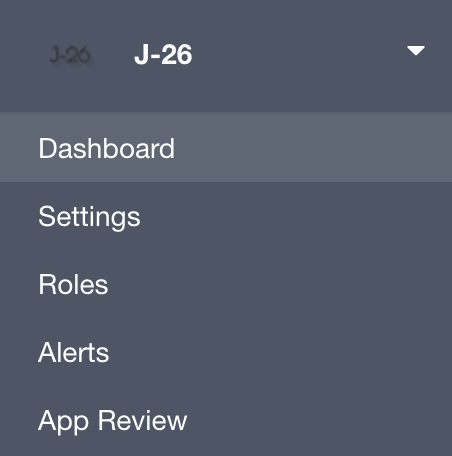
In the navigation on the left, select Dashboard:
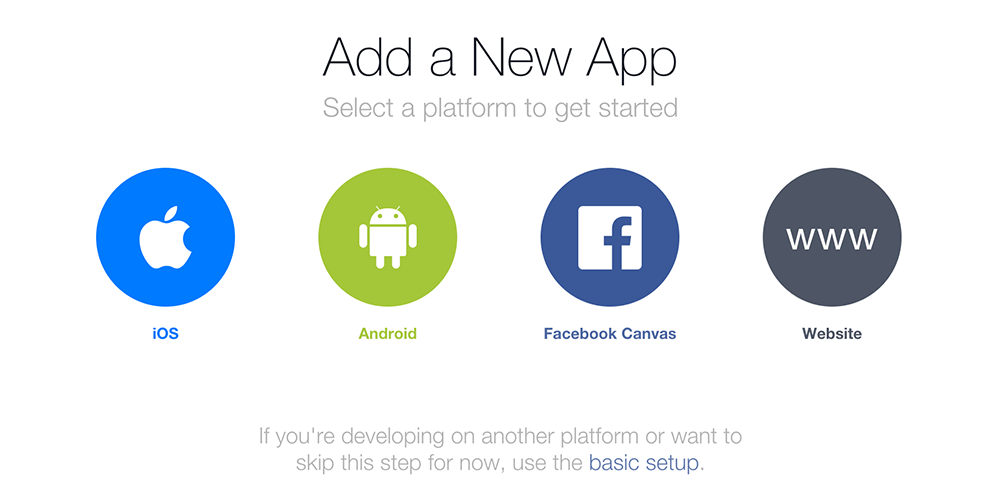
Scroll down until your see the option to choose your platform:

Select Website:
On the next page — *Quick Start for Website* — click Skip Quick Start.

Step 4: Make app public
In the navigation on the left, select App Review. In App Review, toggle the option to make your app public.

Now, just click the confirmation and you are all done!